Waterproofing and Insulation: Essential First Steps Before Finishing Your Basement
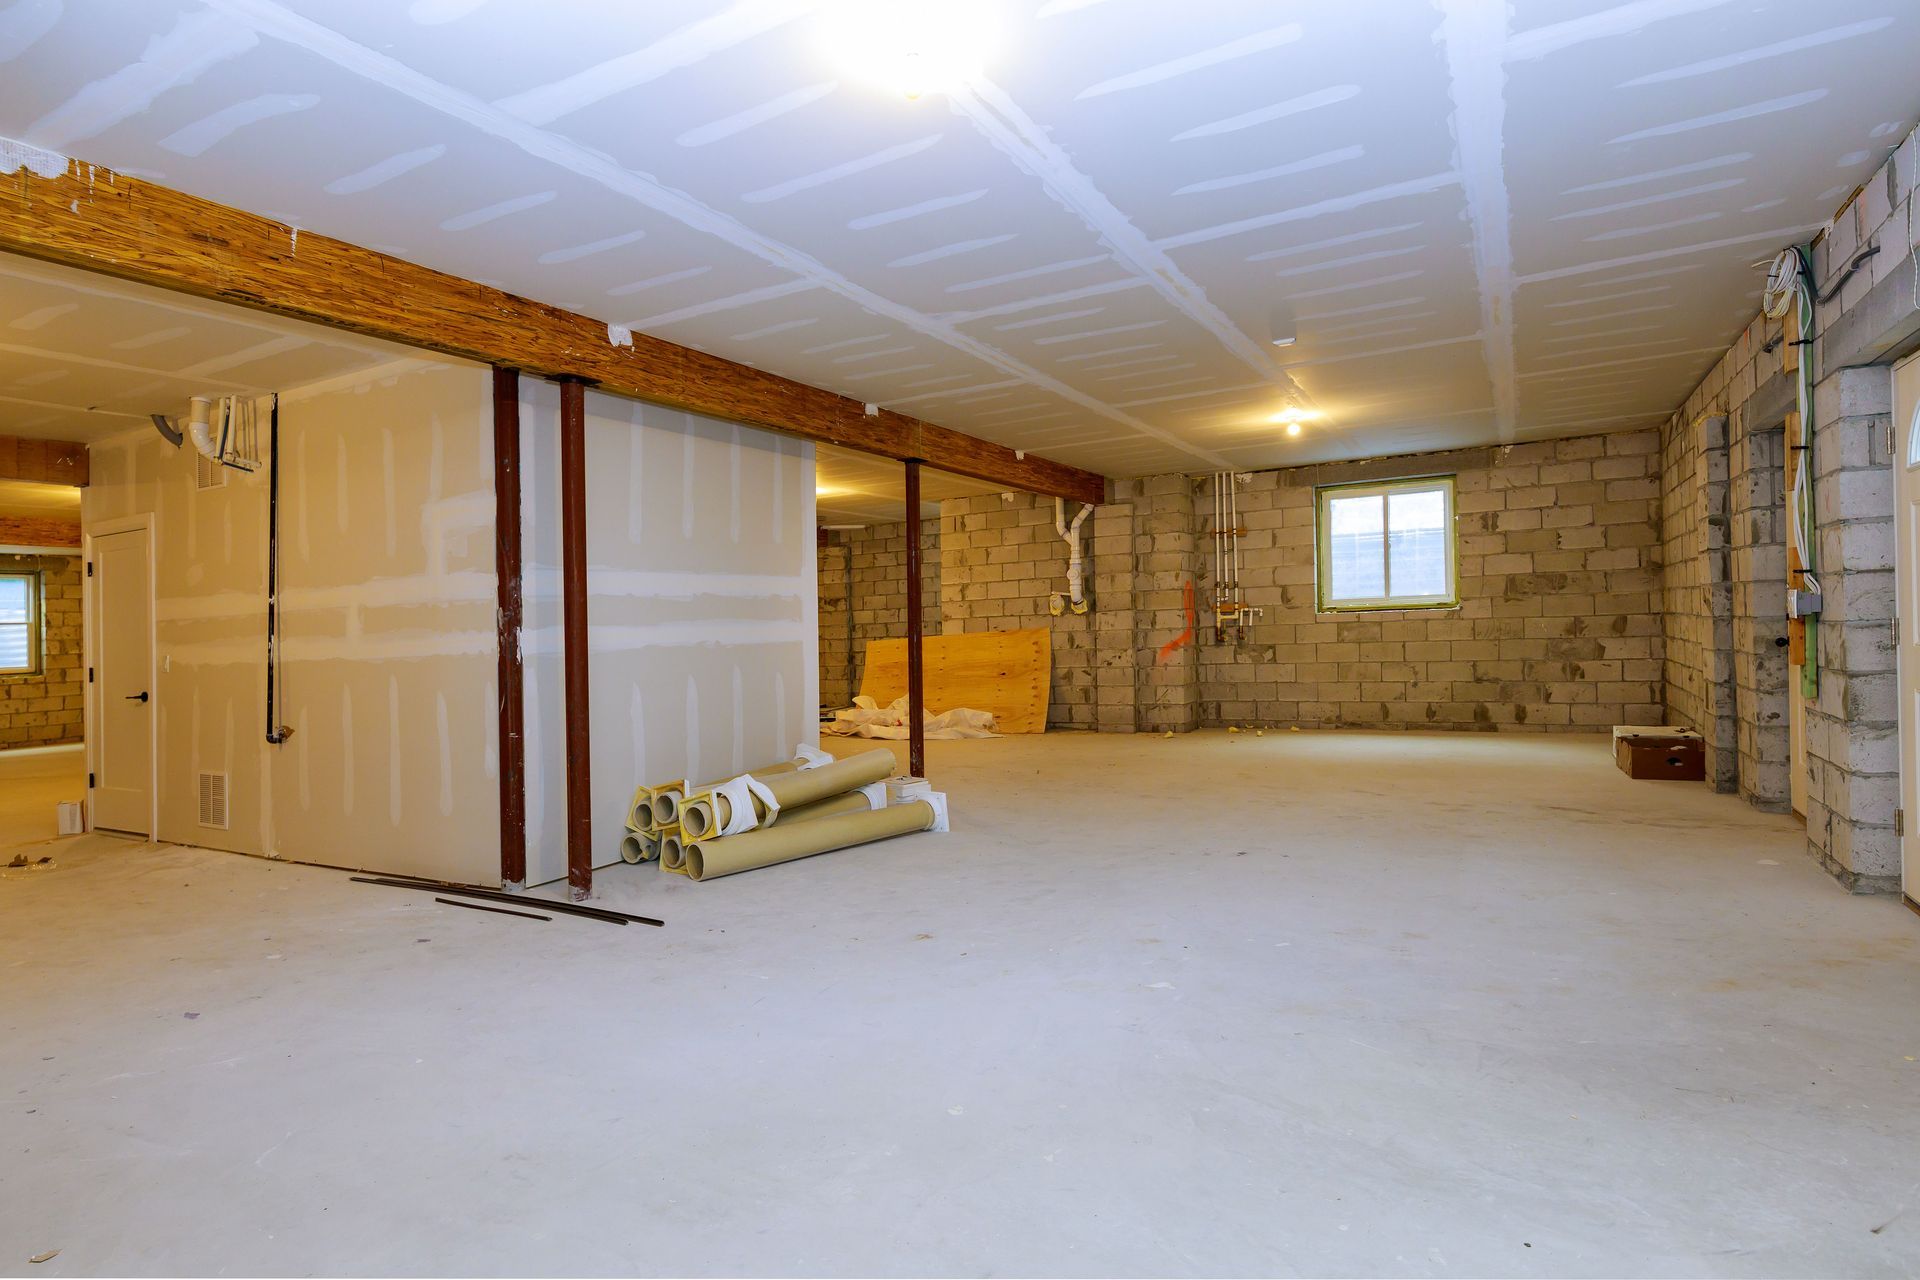
Transforming an unfinished basement into a cozy family room, home office, or guest suite is one of the smartest ways to expand your home's livable square footage without altering its exterior footprint. Beyond adding daily comfort and versatility, finishing a lower level delivers strong financial returns. According to Open Door, homeowners can expect a mid-range basement remodel to recoup roughly 71% of its cost upon resale. However, achieving that lasting value depends entirely on what happens behind the drywall before a single piece of trim is installed.
Because basements sit below grade, they are naturally surrounded by damp soil, hydrostatic pressure, and cooler ground temperatures. Skipping proper moisture control and thermal barriers can turn an expensive renovation into a breeding ground for mold, warped flooring, musty odors, and sky-high energy bills. Taking the time to waterproof and insulate your basement thoroughly ensures your investment stays dry, comfortable, and structurally sound for decades.
Prioritizing Moisture Management Before Framing
Unlike upper floors that are exposed to sunlight and fresh air circulation, a basement constantly contends with ground moisture. Concrete is a porous material—even when foundation walls appear completely dry to the naked eye, microscopic capillaries allow water vapor from the surrounding soil to migrate inward. During heavy rainstorms or spring snowmelt, saturated soil creates hydrostatic pressure that forces liquid water through tiny hairline cracks, cold joints, or window wells.
If you frame walls and install fiberglass batts directly against damp concrete, moisture becomes trapped inside the wall cavity. Within weeks, organic materials like wood studs and drywall paper can develop mold and rot. Working with an experienced remodeling company ensures that water intrusion is addressed at its source before any framing lumber touches the floor.
Diagnosing Existing Basement Moisture Issues
Before choosing a waterproofing strategy, you need to identify how moisture is entering the space. Homeowners and contractors typically look for three primary culprits:
- Liquid Water Seepage: Visible puddles, damp streaks along the cove joint (where the wall meets the floor), or water trickling through foundation cracks indicate active groundwater entry.
- Water Vapor Diffusion: Dampness that causes peeling paint or white, chalky mineral deposits—known as efflorescence—on concrete walls points to moisture vapor passing through porous masonry.
- Interior Condensation: In humid summer months, warm, moisture-laden indoor air hits cool concrete walls and cold water pipes, creating condensation droplets that mimic a leak.
A simple plastic sheet test—taping a square of clear plastic sheeting tightly to the concrete wall for a couple of days—can quickly reveal whether moisture is seeping through the concrete from outside (droplets behind the plastic) or condensing from humid room air (droplets on the room side).
Combining Exterior and Interior Waterproofing Solutions
Effective basement waterproofing often combines exterior drainage improvements with interior protection systems. On the exterior, proper water management starts at the roofline. Cleaning gutters regularly, extending downspouts well away from the foundation, and regrading soil so it slopes away from the house prevent surface water from pooling against foundation walls. For homes with severe water intrusion, exterior excavation to apply rubberized waterproofing membranes and install exterior footing drains provides the ultimate barrier, though it is significantly more invasive.
On the interior, modern waterproofing systems manage water that reaches the foundation wall. Hydraulic cement and polyurethane crack injections seal isolated foundation fissures. For broader seepage, contractors often install an interior French drain—a perforated pipe set in a gravel trench beneath the basement floor perimeter—connected to a sealed sump pump system with a battery backup. Applying a breathable masonry waterproofer to interior concrete walls also helps block dampness without trapping hydrostatic pressure inside the block. A knowledgeable remodeling company will evaluate your home's drainage profile and recommend the right combination of exterior and interior safeguards.
Choosing the Right Basement Insulation Materials
Once your basement is verified dry, insulation becomes the next critical step. Insulating a below-grade space works differently than insulating an attic or above-grade exterior wall. Traditional fiberglass batt insulation placed directly against concrete walls is notorious for absorbing moisture, sagging, and supporting mold growth. Furthermore, wood framing touching bare concrete can wick moisture upward unless isolated with foam sill sealers or pressure-treated bottom plates.
Building science experts overwhelmingly favor closed-cell rigid foam board or closed-cell spray polyurethane foam for basement walls:
- Rigid Foam Board (XPS or Polyiso): Installed directly against the concrete wall with seams taped, rigid foam provides a continuous thermal barrier that stops heat loss and prevents warm indoor air from reaching the cold concrete surface. Wood or metal framing can then be built directly in front of the foam layer.
- Closed-Cell Spray Foam: Applied directly to the foundation wall, closed-cell spray foam expands to fill every irregular contour, rim joist cavity, and gap. It offers high R-value per inch, acts as an air barrier, and resists water absorption.
When framing goes up in front of rigid foam, unfaced mineral wool or fiberglass batts can safely be placed between the studs for added thermal resistance and sound dampening, provided there is no interior plastic vapor barrier that could trap moisture inside the wall.
Sealing the Rim Joist and Subfloor
Two areas frequently neglected during DIY basement renovations are the rim joist and the concrete slab floor. The rim joist—the wooden perimeter framing where the first floor rests on top of the foundation wall—is one of the biggest sources of air leaks and heat loss in any home. Sealing and insulating the rim joist cavities with rigid foam blocks and spray foam dramatically reduces drafts and keeps the entire home warmer in winter.
Down below, bare concrete slabs remain naturally cool year-round, making finished floors feel chilly underfoot and creating condensation risks under carpet or laminate. Installing an insulated subfloor system—such as dimpled plastic underlayment membranes topped with plywood or tongue-and-groove insulated subfloor panels—creates a thermal break and allows air circulation beneath your finished flooring. Consulting a qualified remodeling company helps you choose subfloor assemblies that preserve ceiling height while maximizing underfoot comfort.
Balancing Ventilation, Dehumidification, and Building Codes
A tightly sealed, well-insulated basement also needs proper air exchange and humidity control. Incorporating the basement into your home's central HVAC system—with dedicated supply vents and return air ducts—maintains consistent temperatures and airflow. In humid climates, installing a standalone or whole-home dehumidifier keeps indoor relative humidity at healthy, moderate levels, preventing musty odors year-round.
Additionally, finished basements must meet strict local building codes, including minimum ceiling heights, smoke and carbon monoxide detector placement, and emergency egress windows in any basement sleeping area. Partnering with an experienced remodeling company ensures that waterproofing, insulation R-values, electrical wiring, and egress requirements all pass municipal inspection without costly delays.
Investing in comprehensive waterproofing and proper insulation before framing a basement may not be the most glamorous part of a renovation, but it is unquestionably the most important. When moisture is stopped at the perimeter and concrete surfaces are shielded with continuous thermal barriers, your finished basement feels just as bright, warm, and inviting as any upstairs room. By working with a trusted remodeling company from the initial inspection through final finishes, you protect your home's structural health and ensure your new living space performs reliably for years to come. If you are ready to transform your unfinished lower level into a dry, comfortable, and lasting living space, contact CMP Construction today to schedule your consultation.




Share On: